Drone Photography Post-Production Master Class

Unique Drone Photography Post-Production Master Class where I share my workflow on photo processing of aerial images in the most popular shooting genres — city/architecture, landscape/nature, and working with problematic photos, including sky replacement. But before diving into the lessons, I will tell you all about right drone settings for taking best possible images. In addition to all 4 lessons I have a Bonus part that includes PS Actions, a discount code for 150 hi-res sky images for your next project and link to the private Telegram channel, where you can ask me any questions directly about post-processing, send photos for feedback and more.
Master Class is 3 hours long in total and 5Gb in size. It requires a basic knowledge of Adobe Lightroom and Adobe Photoshop
Master Class includes:
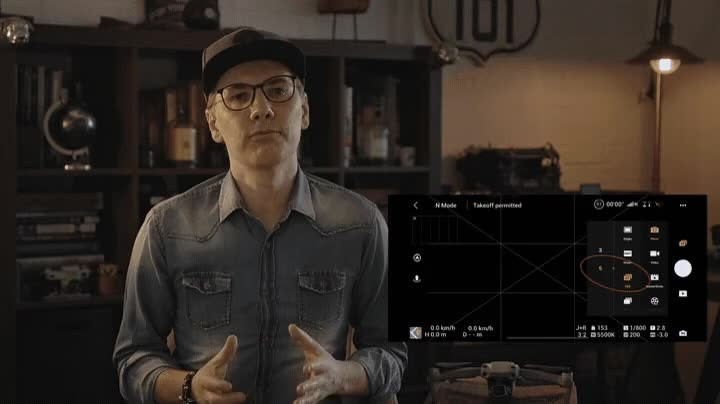
Part 1 — Drone settings for best photo.
13 minute long video where I walk you through all the drone settings that you will need to get the best photo possible every single time. From ISO and shutter speed, to frame size and bracketing, from filters to white balance and so on. I will cover 16 topics in total
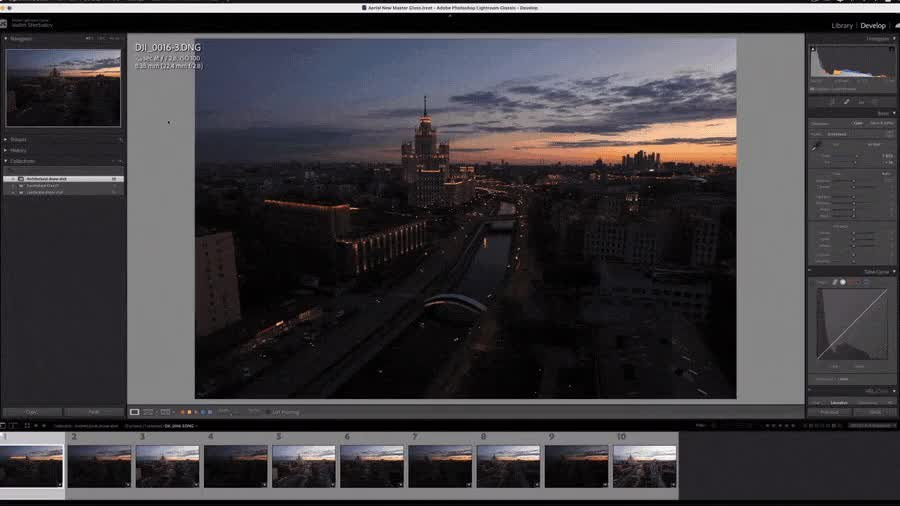
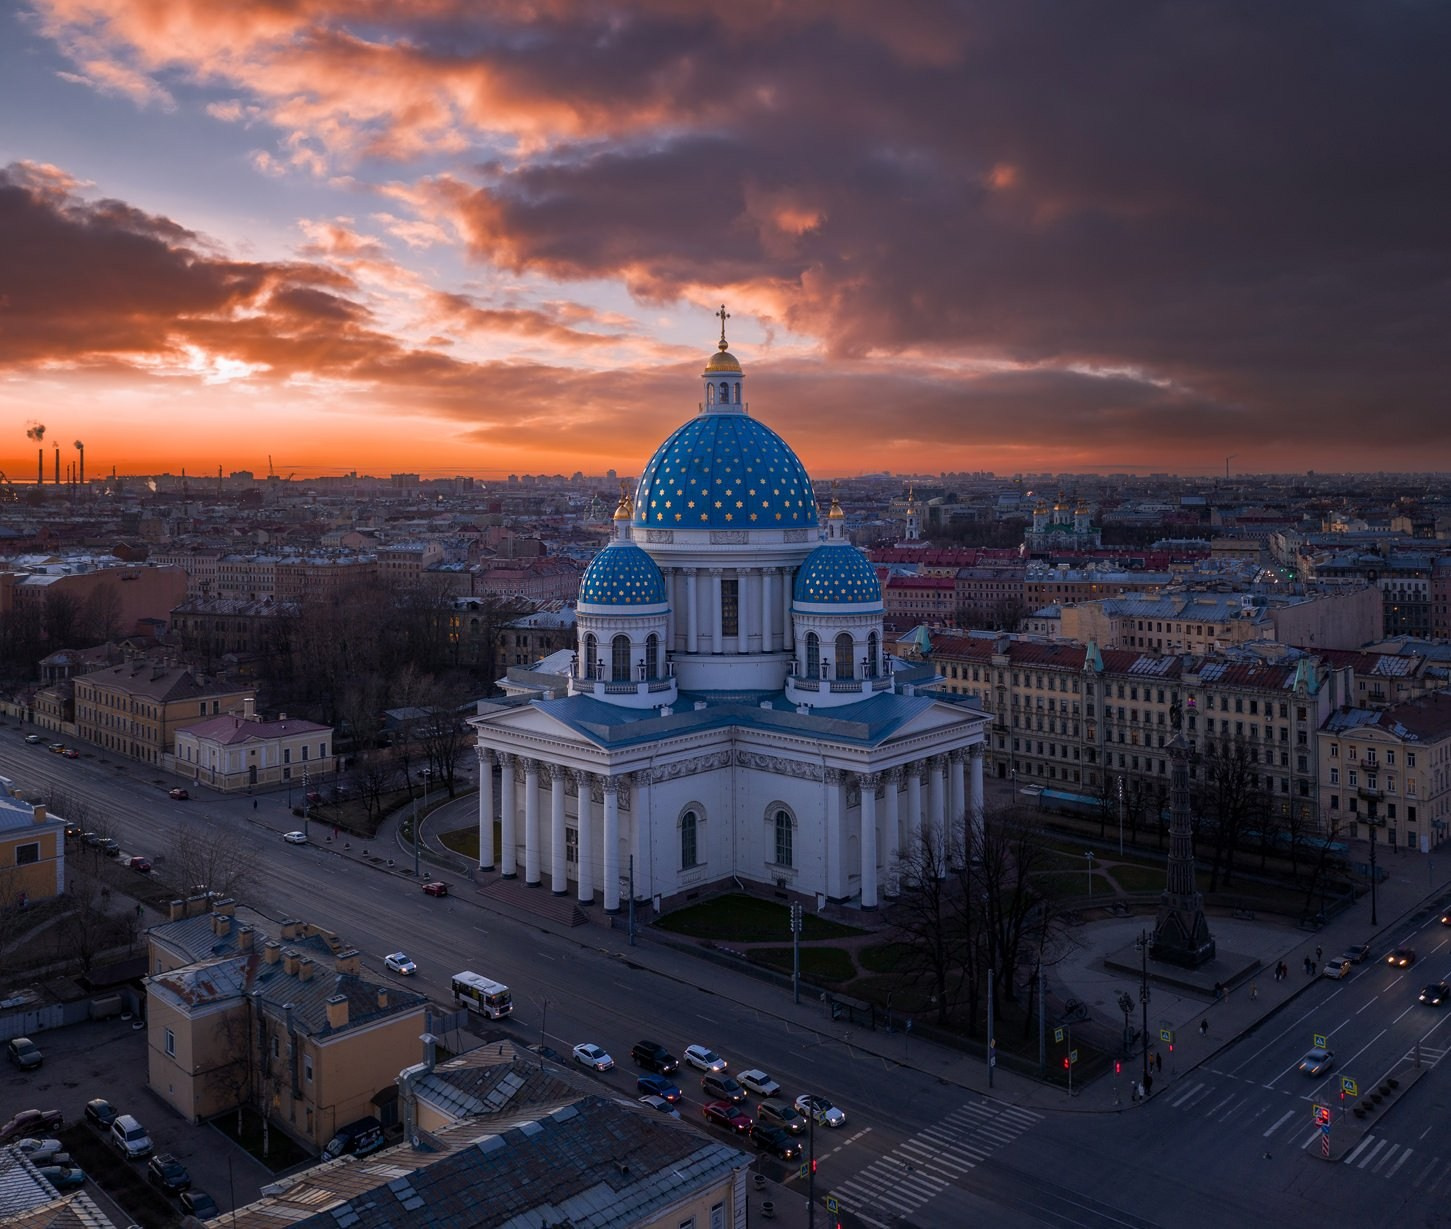
Part 2 — Full post-production of architectural panorama.
In this part, you will find an hour and 13 minutes long tutorial with a complete processing of architectural panoramic photography from start to finish. From combining panorama and initial processing in Adobe Lightroom, to the final post-processing of an entire image in Adobe Photoshop. You can see before and after in the slider below


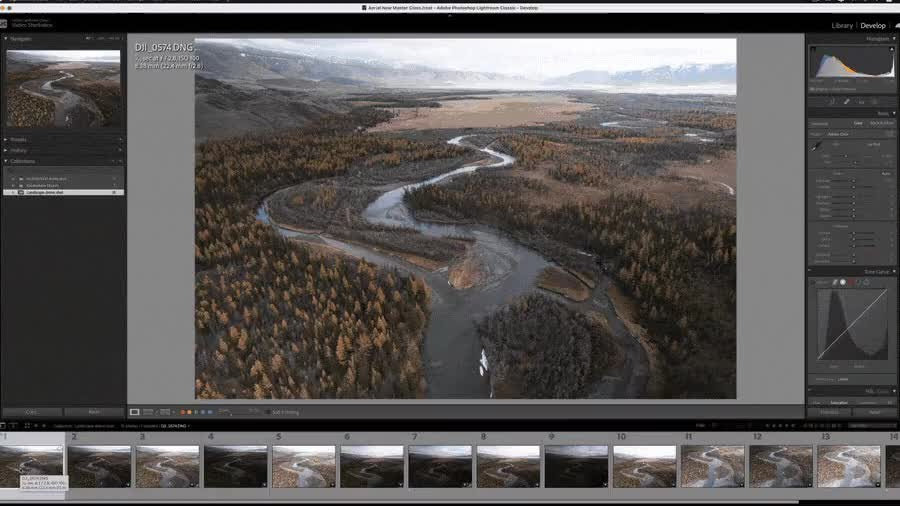
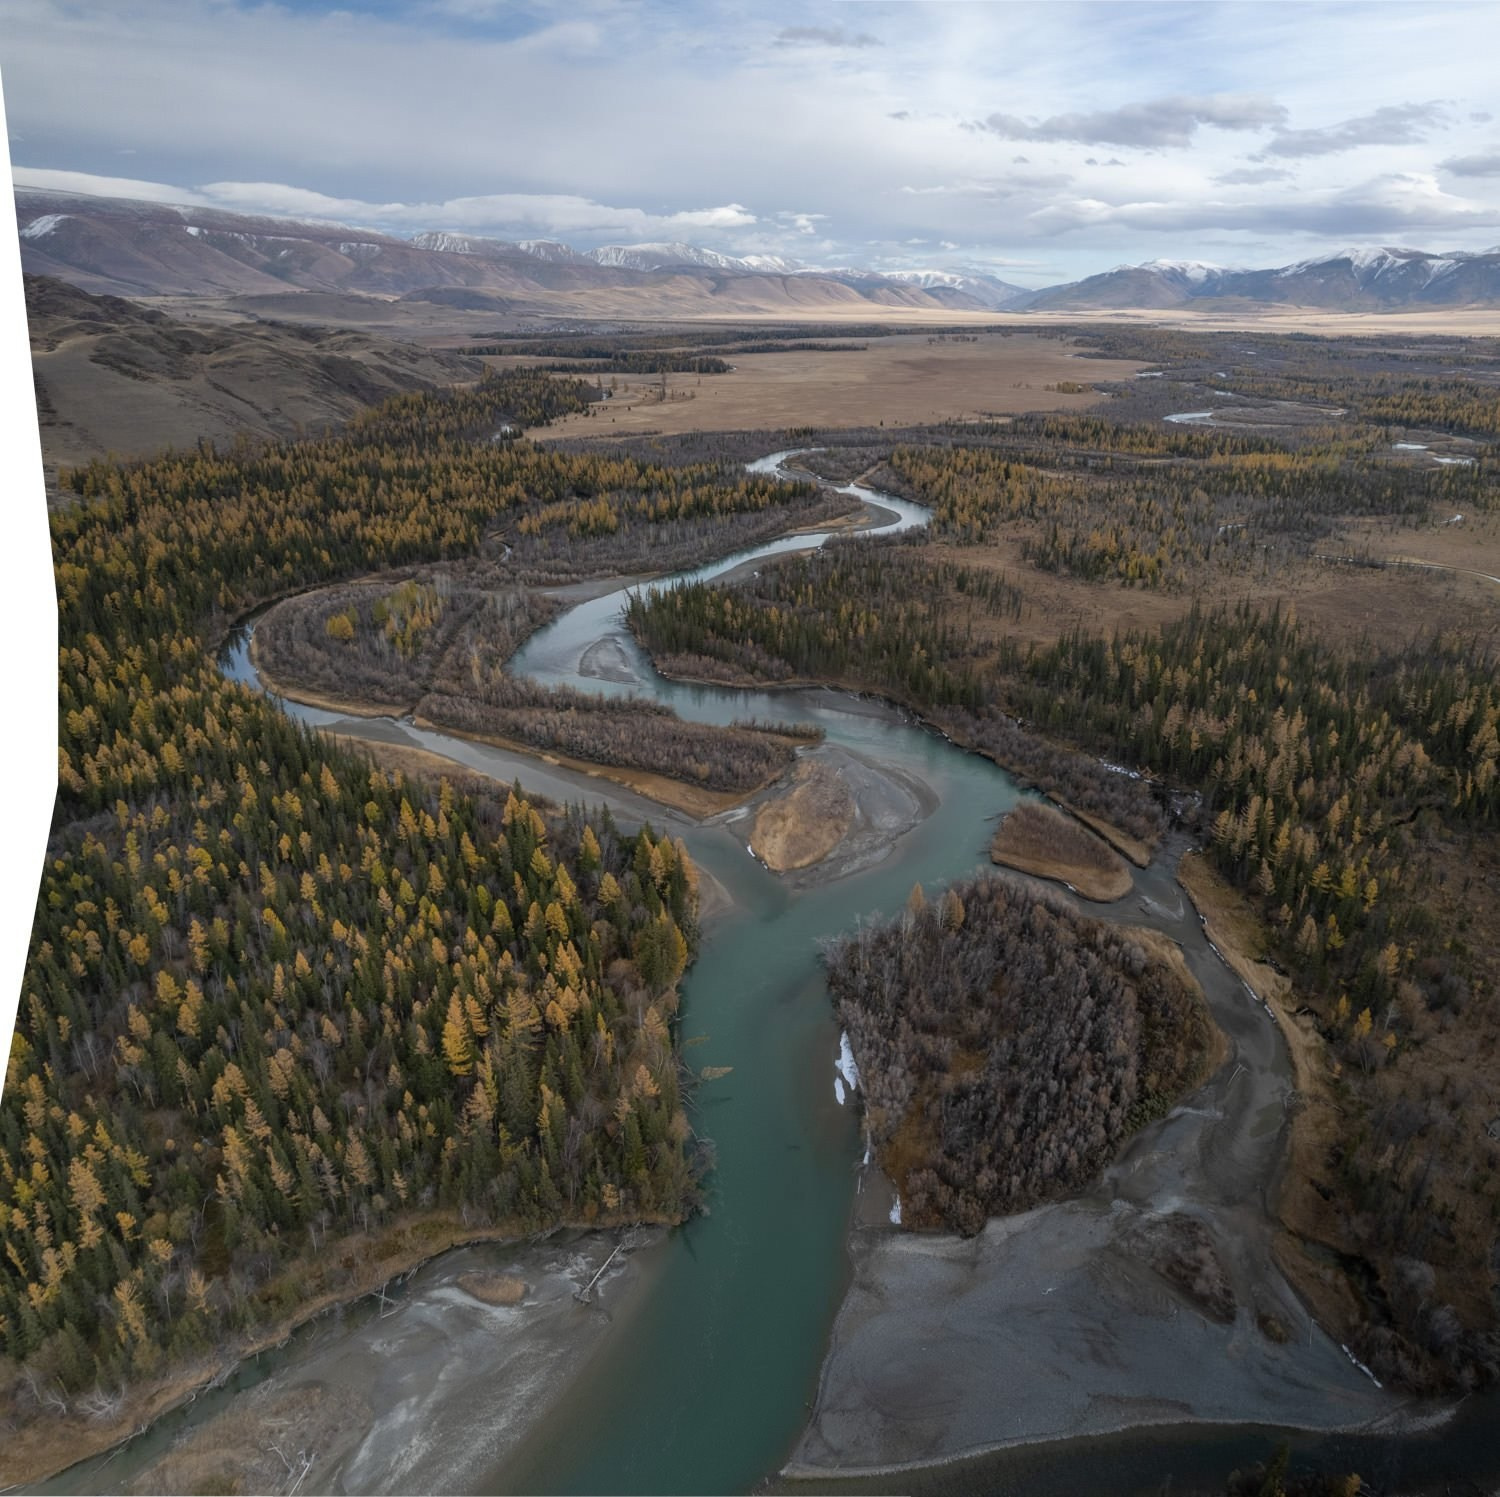
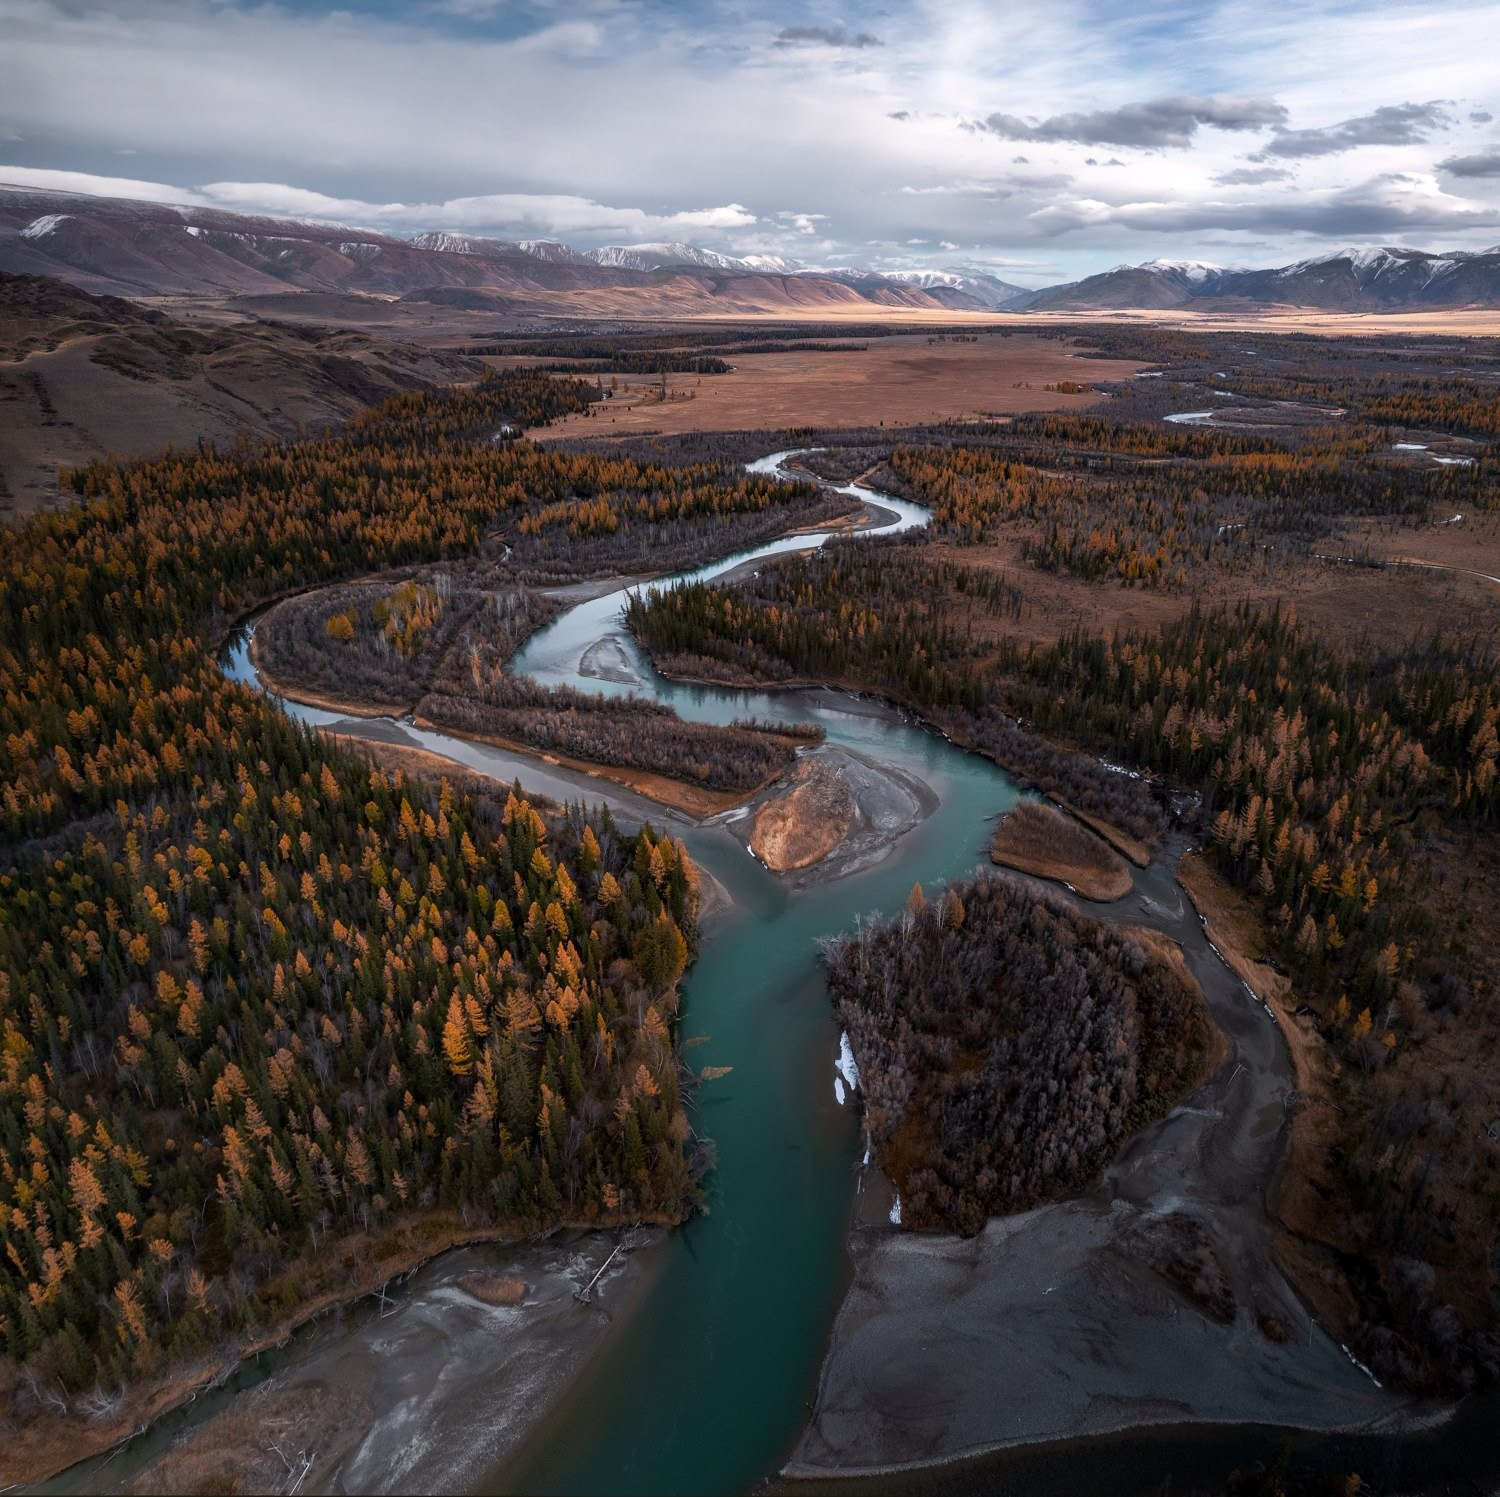
Part 3 — Start to finish post- production of landscape vertical panorama.
In this 43-minute tutorial, I will show an example of post-processing a landscape vertical panorama. Just like in the first lesson, I will start with stitching the vertorama in Adobe Lightroom and slightly adjusting the result, finishing post-processing in Adobe Photoshop. You can see what happened in the slider below
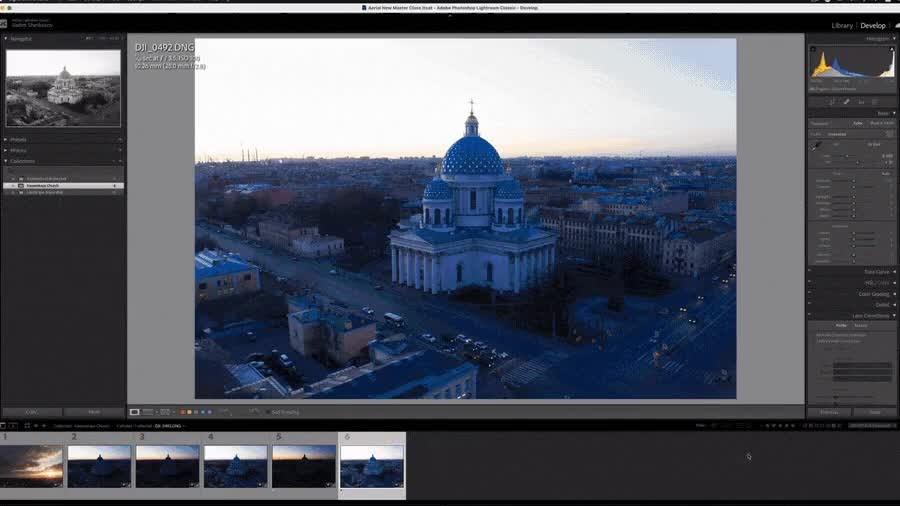
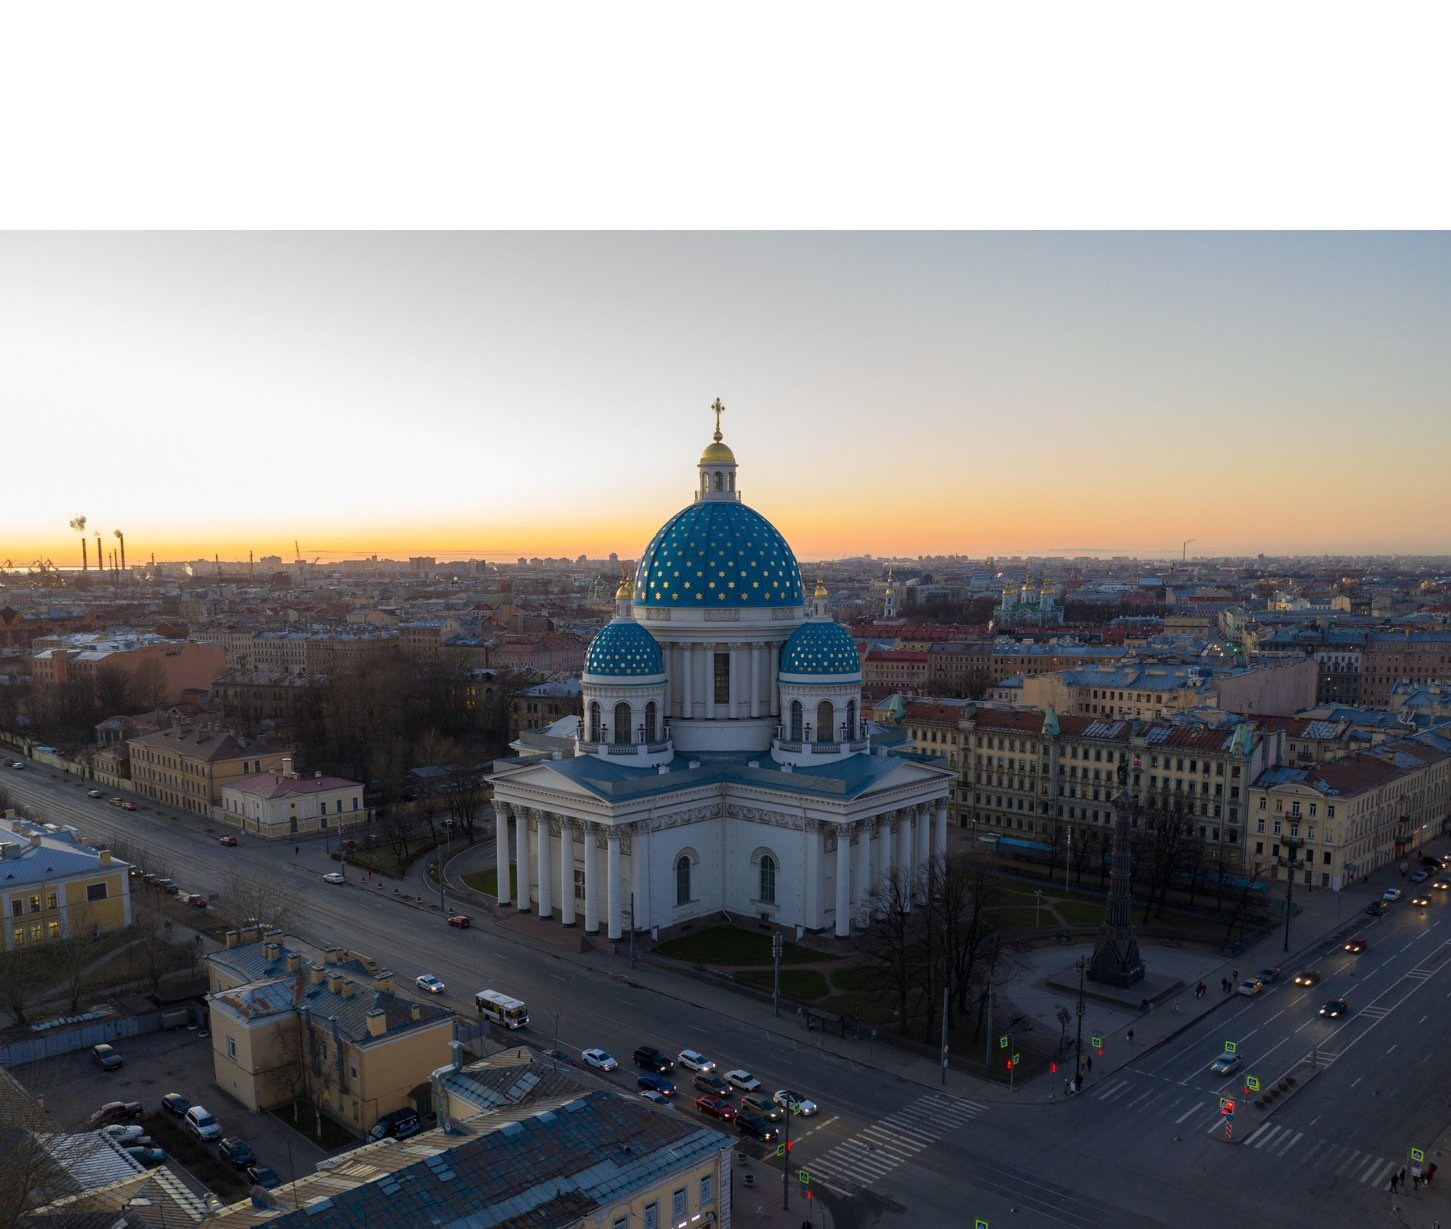
Part 4 — Full post-production of problematic image, with sky replacement.
In the fourth lesson, I will talk about working with “problematic” photos, where the white balance is incorrect, the horizon is tilted, the sky is “boring” and vertical lines are not straight. In this 60 minutes I will walk you through the process of correcting these issues and creating a great image. Before and after available in the slider below
Part 5 — Bonus
3 PS Actions that I’ve used throughout the lessons, 30% discount on my digital product “Cloud Nine” — 150 Hi res sky photos (high resolution sky photos for any type of work, including commercial use), as well as access to a private telegram channel, where you can ask any questions about MC or photo editing directly, as well as receive feedback on your photos.