

9 common reasons why your drone photos look bad and how to improve them
by Vadim Sherbakov / @madebyvadim
After seen millions of drone shots :), some are amazing and creative, other not so, I’ve decided to write a short post, aiming at beginner drone enthusiasts wanted to up their game and improve quality of their works.
I outlined typical issues and give some quick suggestions on how to fix or avoid them.
So let’s start —
1. Boring composition
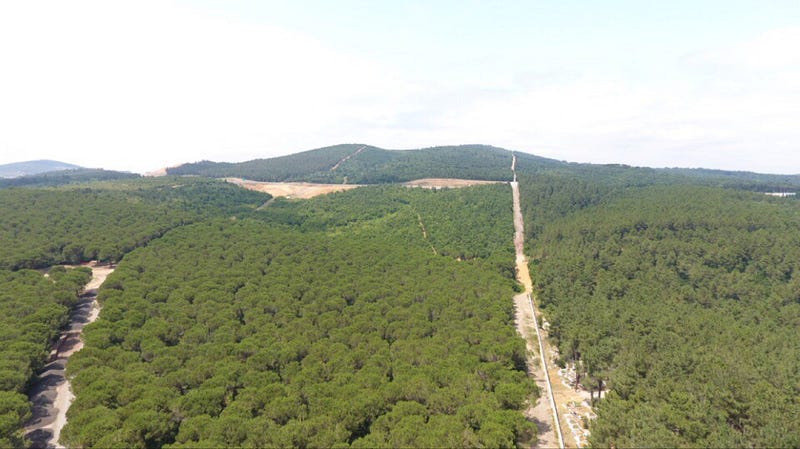
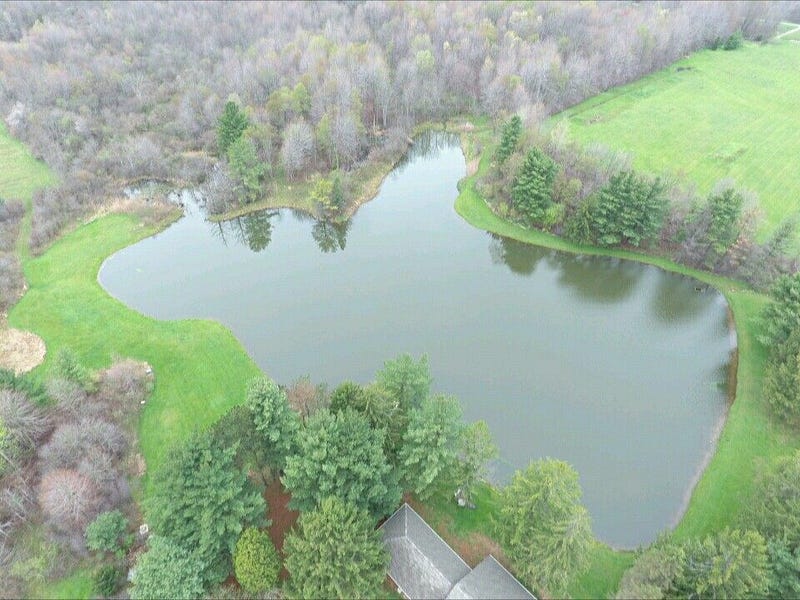
Boring forest shoot with less though out composition
Problem: Most common mistake of drone owners is to start shooting anything and everything they can fly over. Empty fields on a backyard, some houses on the road, etc. We’ve all done that, excited to fly a drone and thinking that it is so awesome to see “that place” from the air. But if you are serious about aerial photography then choose the subject wisely, don’t just shoot whatever you see.
Fix: Shooting mountains, rivers or amazing places is easy but what to do if subjects are not particularly memorable. Try using different angle and places. You will be surprised how awesome they can look, for example, from the straight down angle.
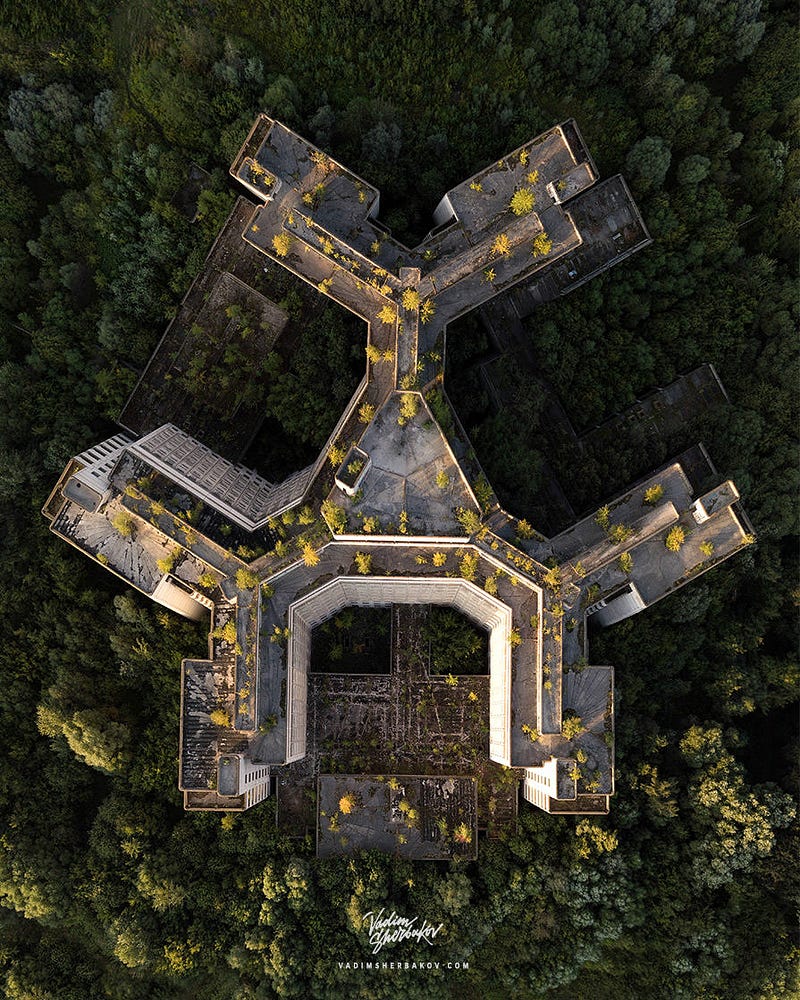
Top down on building, that otherwise looks dull.
Changing angle will make it a completely different story.
2. No post production

Straight from the camera, no post-production.
Problem: We see lots of images from the drone that are just straight out of the camera, often shot with jpeg setting, and, thus, lack that wow factor or sometimes do not represent, to the fullest extent, real location’s beauty.
Fix: Always color correct your images, in order to bring it to the next level, fix some problems or just make them better. If you not so confident with Photoshop, just use a Lightroom at first or any other raw editing software you find easy.
Raw, adjusted in LR and post processed in Photoshop
3. Overdone post-production
HDR looks too overdone
Problem: There is no doubt that the post-production process is essential. But each creative process should be refined. Some over saturated images or images that use HDR composing technology look very fake and overdone.
Fix: Try to see the best examples of drone photography and see if you are making your post processing look “too much”, fake or overdone. Learn the skills of Photoshop or Lightroom and critically examine your final result.
Correctly done post-processing.
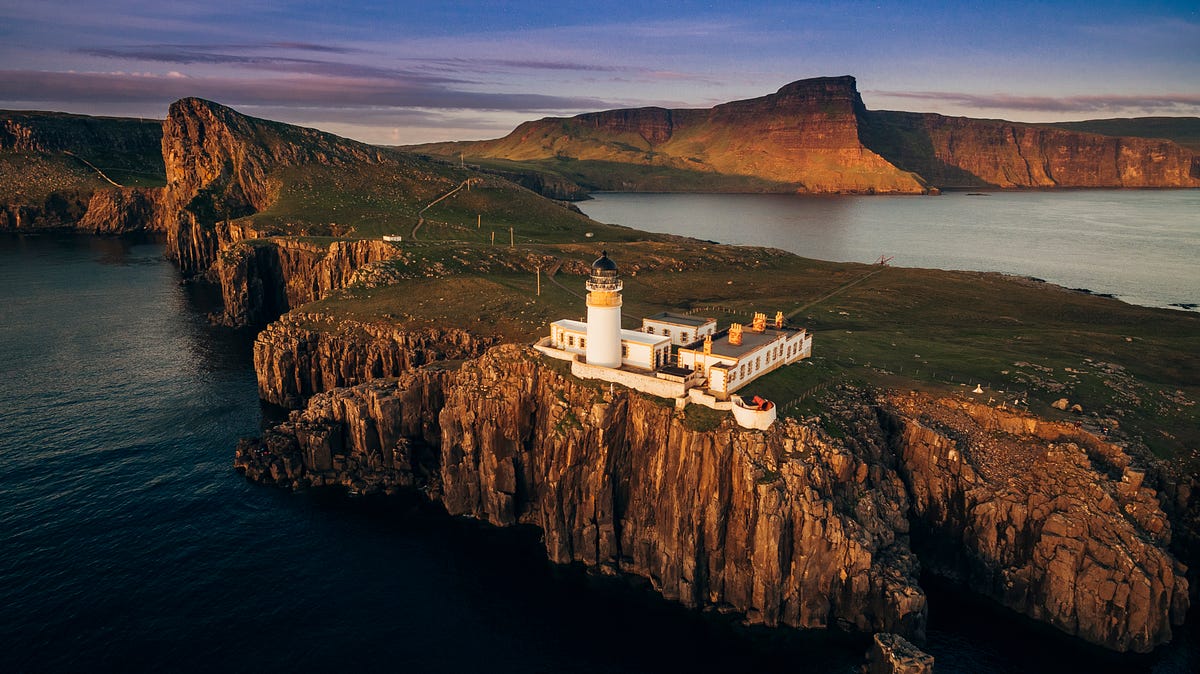
4. Daytime shooting
Day time shot
Problem: Daytime is not the best time to shoot epic drone photos since the sun is casting harsh shadows and light is not flattering.
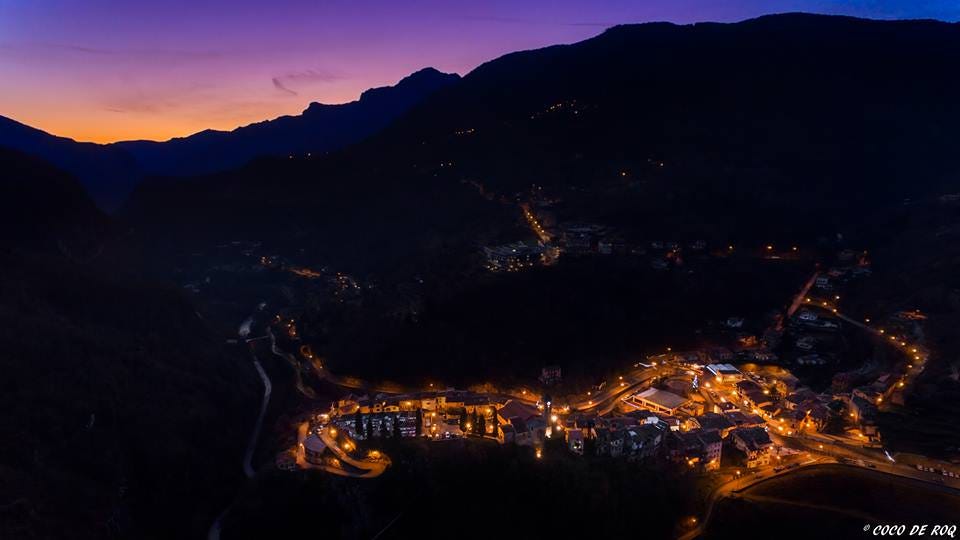
Fix: Best is to wait until the time of the day often referred to as the golden hour, which is the best condition for photography. It happens twice a day on sunset and at sunrise, and there is plenty of apps, free and paid, for checking when it happens. Light is the best at these hours as it is soft and most pleasing for the eye.

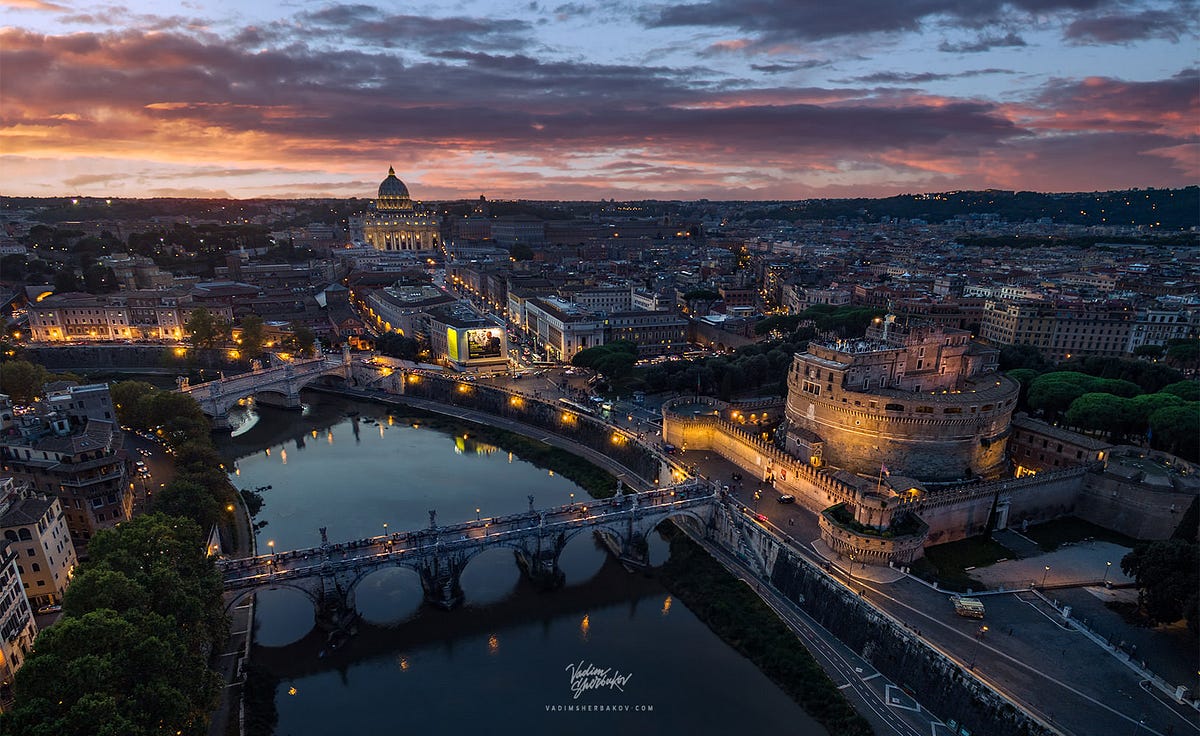
Golden hour sunset shot.
5. Dull weather condition
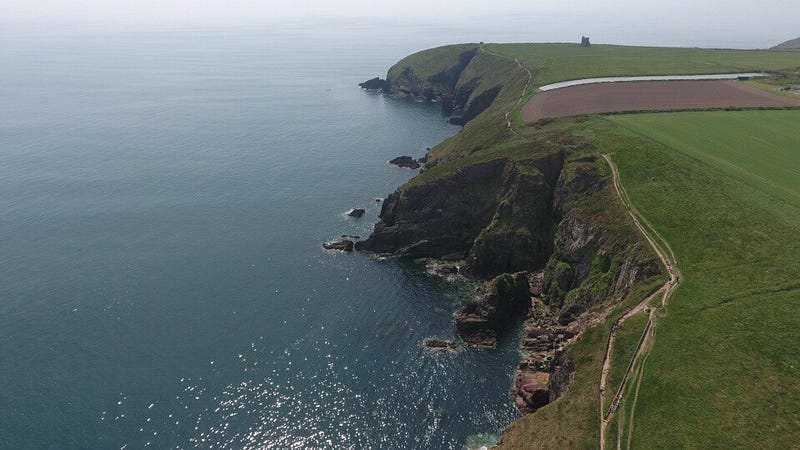
Dull weather = dull results
Problem: Dull weather makes even the best locations hmm … dull. There is nothing sadder than not to use the full potential of the locations and weather.
Fix: So, for epic photos that you want to be proud of, check the weather forecast and try not to shoot at dull conditions. It’s time for coffee and editing those old photos you have been putting off for so long :)

It’s time to do some post processign.
6. Jpeg, not Raw :(
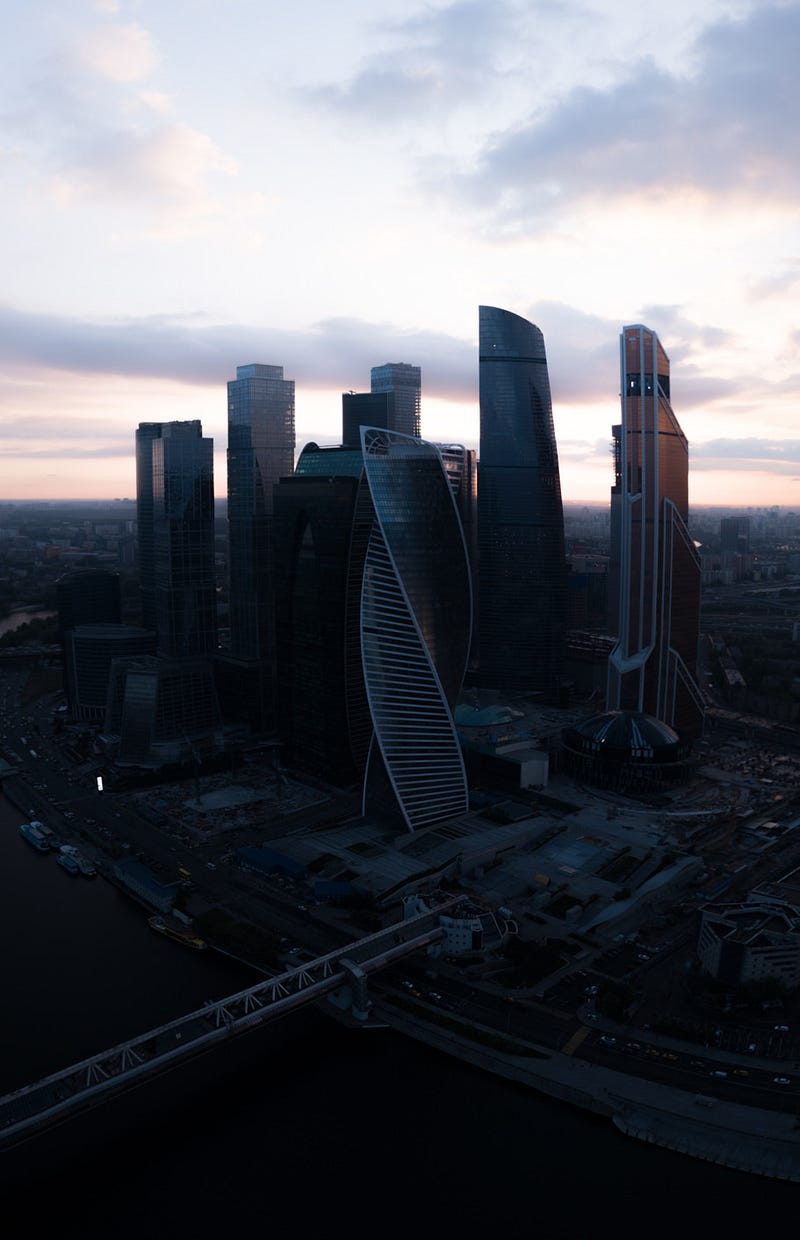
City panorama with jpegs
Problem: There is only so much that jpeg can do. For starters, its compressed format which is taking away any advantages of post-production. Color correction settings and white balance are already hardcode embedded in that format so any changes are much more difficult or even impossible, as opposed to the RAW format images.
Fix: It is crucial to shoot in Raw format, so you can fix any mistakes or have much more room for additional work on your photo later on, including color correcting. Raw format is much more flexible to changes, stores more information, and WB or colors are not hardcoded in it.

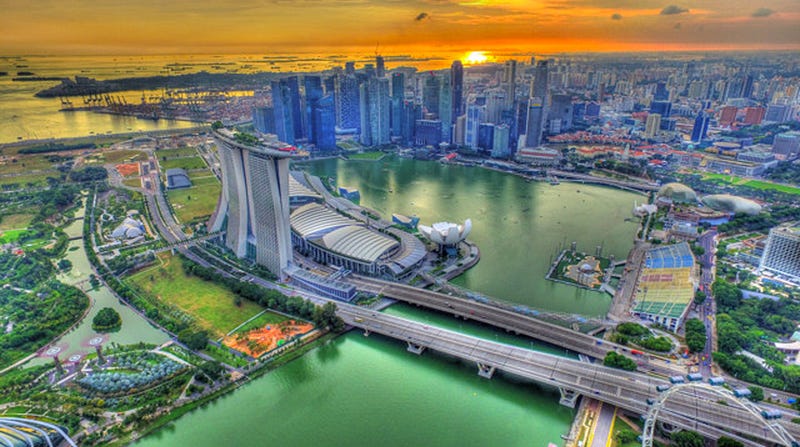
City panorama with multiple bracketing, RAW and post processing
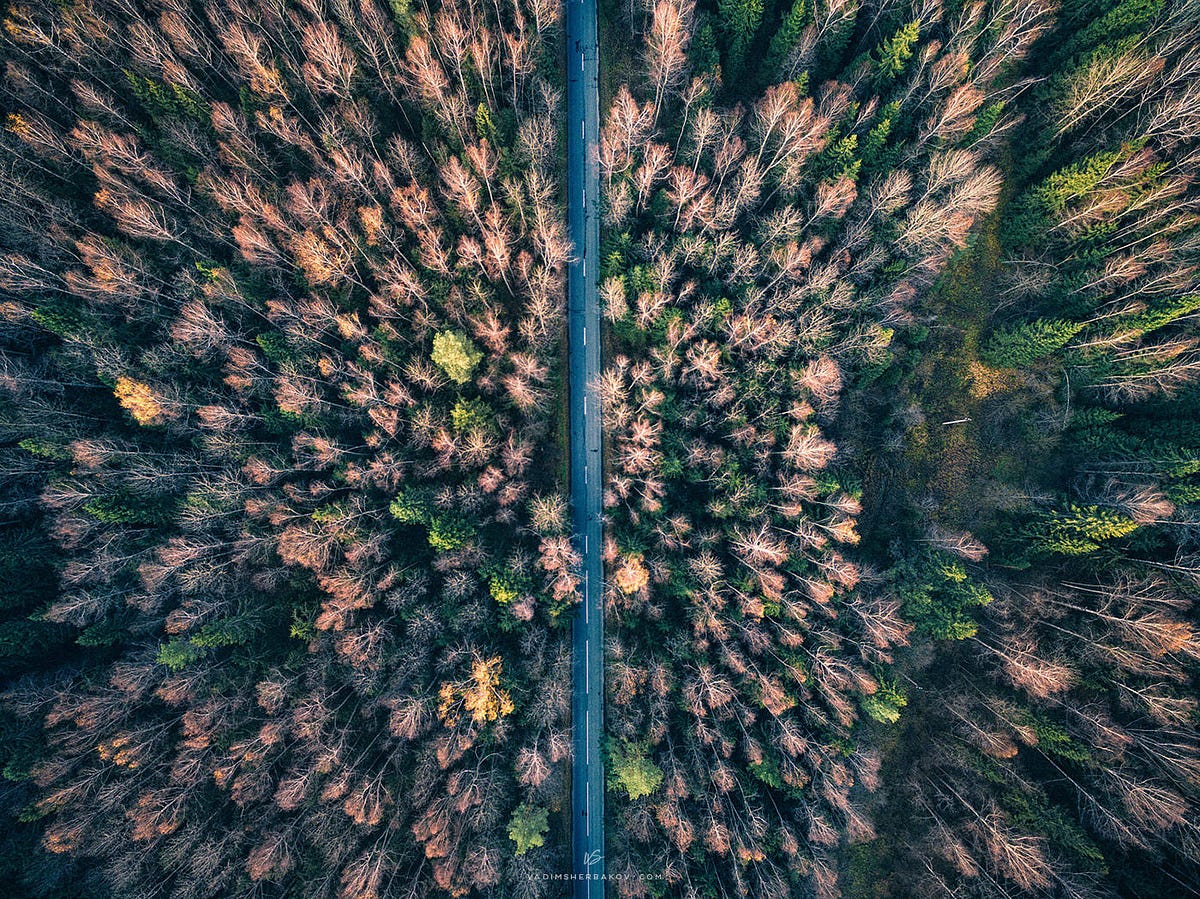
7. Skewed horizon

Horizon line is badly skewed
Problem: One of many signs of professionalism is a perfectly lined horizon. Drone photos with all too familiar skewed horizon line are screaming immature and have to be avoided at all cost.
Fix: It is so easy to fix it both on location via correct gimble option in drone software or later on in post-production. So don’t be that guy :)
Straight horizon
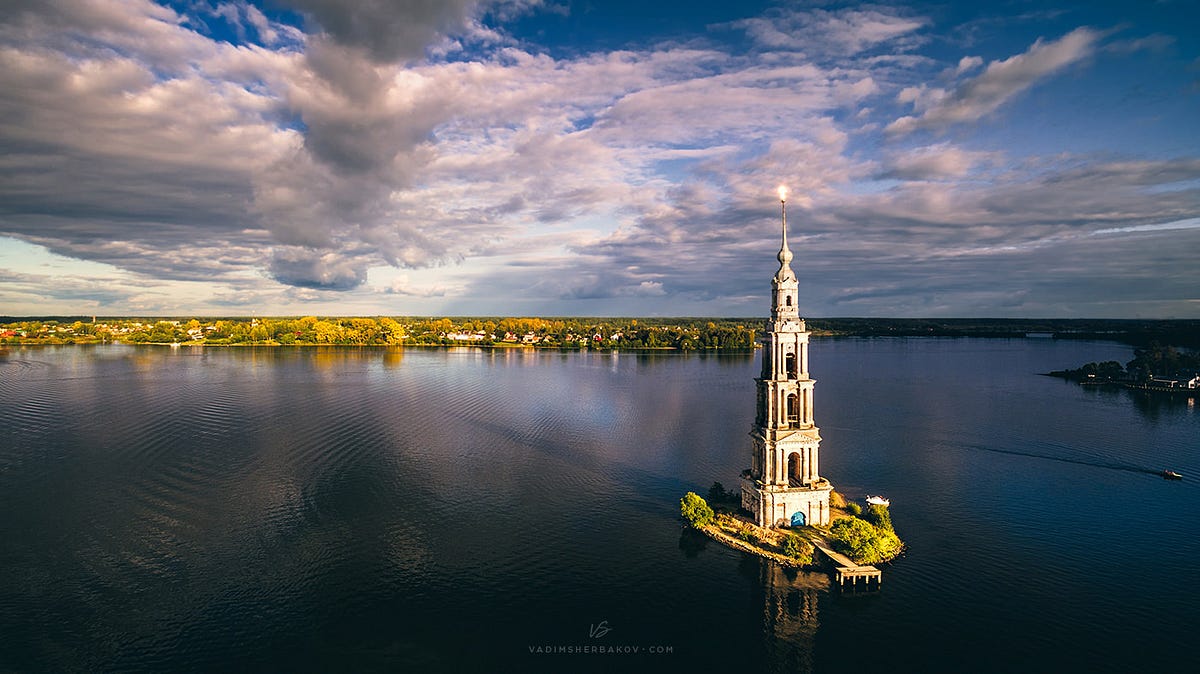
8. Overblown sky and underexposed background

Overblown sky but with derails in shadow
Too dark background, with no details, but sky is good
Problem: It is too often I see either overblown sky or dark background.
Neither looks good on your photographs.
Fix: To avoid this problem you need to shoot with bracketing or at least expose for the highlights (sky) so they are exposed correctly. There is a rule in digital photography, that blown out highlights with no information (pure white) is almost impossible to recover, as opposite of shadows which is possible to recover to some degree.

Both shadow and highlights are balanced and have a lot of details
9. Lost opportunities
Problem: Drones nowadays have so much to offer: RAW, automatic exposure bracketing, 1 inch sensor with even more dynamic range, as well as creative opportunities to shoot straign down or make panorama, both horizontal and vertical or other creative staff, so it’s a shame not to use it at full potential.
Fix: Study your machine, see tutorials on the subjects you are not falimiar with and try try try. Your skills will grow very quickly and you will be amazed at how much better your photos will look.

AEB 3 shots + horizontal panorama + RAW = great results.
Fly safe!


